
Find a curved squeeze toy’s printable area by approving a measured boundary on the actual sample, not by fitting a logo inside a flat rectangle. Curvature, seams, and surface interruptions determine where the artwork can sit; a printed sample establishes whether it remains readable there. Before approving logo size, require a dimensioned placement drawing tied to an identifiable sample, plus a distortion proof using the proposed print process. Treat overall toy dimensions and packaging dimensions as separate information.
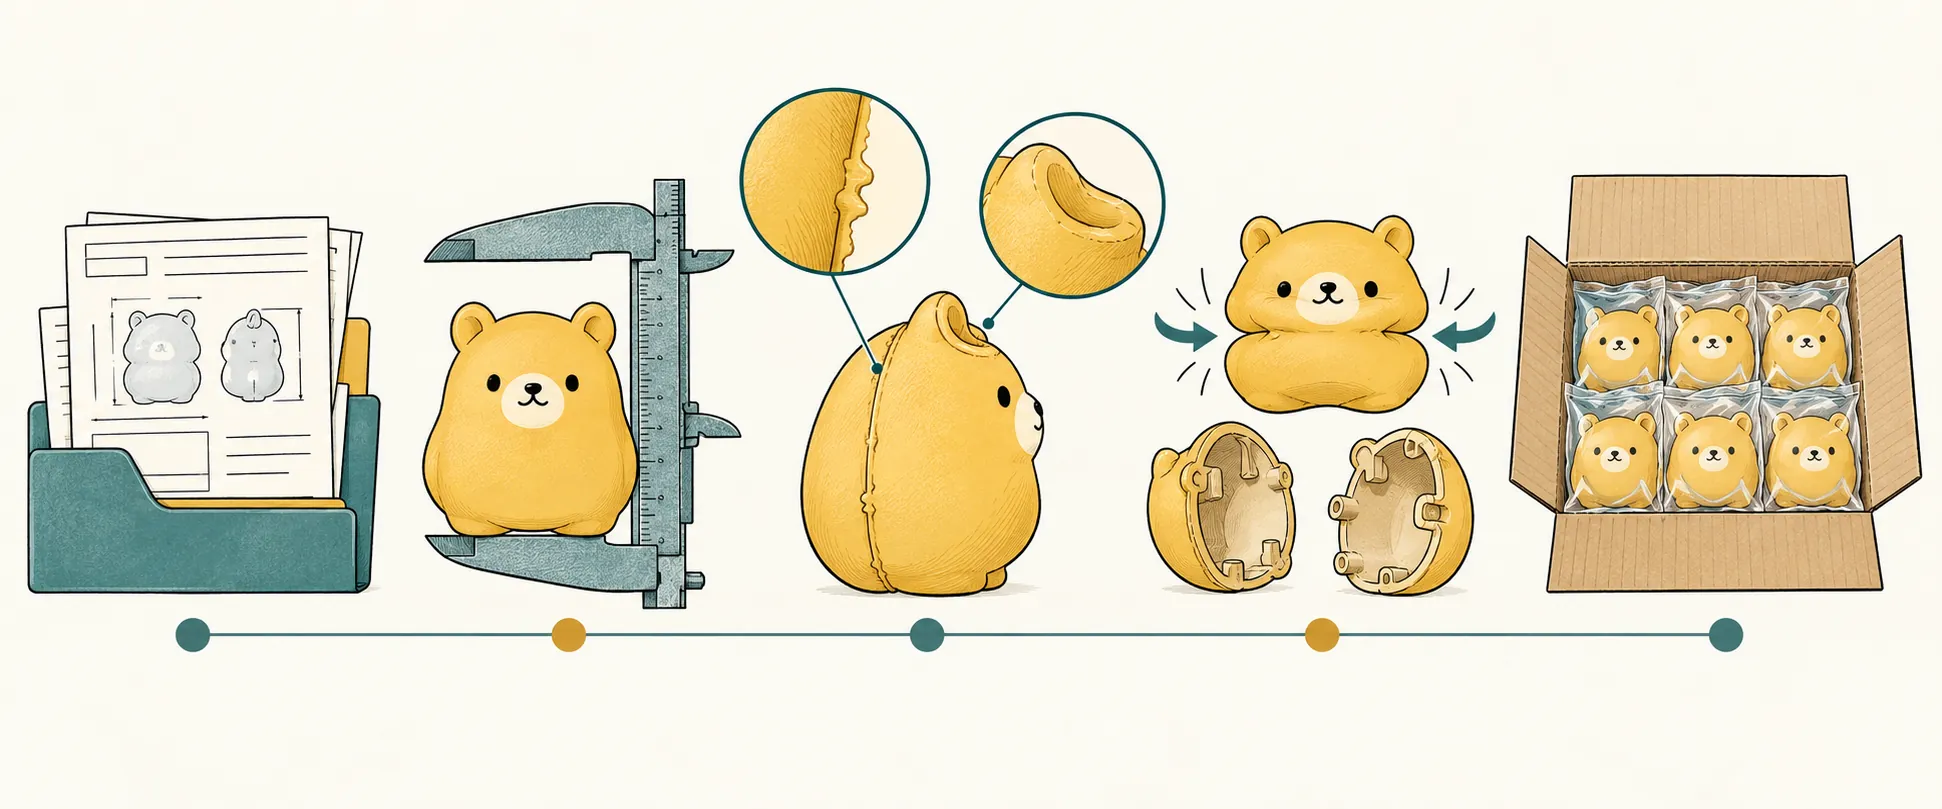
How do you measure a usable print boundary?
Measure a usable print boundary by locating an uninterrupted surface on the relaxed toy and recording its limits relative to fixed features.
Choose the intended viewing face first. Mark its centerline and orientation against a seam, molded feature, or other repeatable reference. Photograph the sample straight on and from the side, with a scale alongside it. Record the toy’s overall dimensions separately from the proposed decoration zone.
Identify any seams, holes, raised details, recesses, or abrupt changes in curvature that enter the proposed zone. Ask the printer to mark a process-specific keep-out boundary around those features. Do not assign a universal seam clearance: make the agreed clearance part of the placement drawing.
State how each dimension was measured. A flexible tape following the surface measures an arc; a straight-line measurement between endpoints does not. Neither should silently become the width of the flat artwork file. For an irregular zone, retain the actual outline rather than only its maximum width and height—a bounding rectangle can include corners that are unusable.
How does a distortion proof differ from a flat artwork proof?
A flat artwork proof confirms the graphic’s dimensions and proportions; a distortion proof shows how that graphic appears after transfer to the curved toy.
Use the flat proof to approve spelling, artwork proportions, color references, and orientation. Use a printed physical sample to assess apparent stretching, compressed lettering, broken lines, and the visibility of details as the surface turns away from the viewer. A digital overlay is useful for discussing placement, but it does not demonstrate the actual transfer.
For an initial placement trial, request a simple grid, circle, or registration marks alongside representative lettering. Inspect the result straight on and from agreed side views. Then approve the final artwork on the same construction and proposed print setup.
Judge normal presentation with the toy relaxed. If appearance during squeezing matters to the brief, review that separately. A placement proof is not an ink-durability test or a toy-safety assessment.
How can you calculate a starting artwork size?
Calculate a starting artwork size by scaling the logo proportionally into a confirmed safe rectangle, then verify that placement on a printed sample.
For a rectangular safe region, let W and H be its width and height after the agreed clearances, and let w and h be the original artwork dimensions. The maximum proportional scale is s = min(W ÷ w, H ÷ h). The resulting artwork dimensions are s × w by s × h. This calculation checks rectangular fit; it does not calculate curvature compensation or establish printability.
Hypothetical sizing exercise—not a catalog dimension or printing offer: assume a sample-approved safe rectangle of 30 × 20 mm and artwork measuring 40 × 20 mm. The scale is min(30 ÷ 40, 20 ÷ 20) = 0.75, producing artwork of 30 × 15 mm.
Compare that with stretching the same artwork to fill 30 × 20 mm: its width would be scaled to 75% while its height stayed at 100%, changing the logo’s proportions before printing even begins. Choose proportional scaling as the starting point. Apply any process compensation only through a printer-prepared proof that you approve on the sample.
What does the 12-hole rainbow ball listing establish?
| Retail-pack size | 7 × 7 × 7 cm; keep this separate from product measurements and the decoration boundary. |
|---|---|
| Sale-price basis | Per piece (pc), EXW; reconfirm the price for the requested quantity and print specification. |
| Print position | Choose after reviewing the physical sample; surface printing requires item-specific review. |
| Packaging brief | Review against the physical sample; packaging changes require item-specific confirmation. |
What should the final print-area approval contain?
The final print-area approval should link one identified toy sample, one measured placement boundary, and one approved printed result.
Record the artwork revision, finished logo width and height, orientation, distance from a fixed feature, seam keep-outs, and agreed placement tolerance. Include the dimensioned drawing and photographs of the approved printed sample. Define any visual acceptance criteria as buyer requirements, not as compliance standards.
Keep the commercial description equally precise: confirm what one quoted sale unit contains, which packaging is included, and whether the proof represents that exact item. Per-piece pricing and retail-pack dimensions answer different questions; neither establishes the printable area.
Choose a smaller, readable logo inside a proven zone over a larger logo justified only by a screen mockup. If the design needs more space, compare a revised position or simplified artwork on another proof rather than treating the toy’s overall width as permission to print.